Categories
Categories
- Home
- Packaged Mount Instructions
Packaged Mount Instructions

U.S. Patent No. 10,210,780
Additional Patents Pending
INSTRUCTIONS - A (black & white) copy will also be packaged with each mount.
#1776002L or #1776001R
It's "Very Important" that you read "ALL" the instructions "Before" installing your new Patriot Mounts. They are "Very Detailed" and will make your installation easy and complete!
The "CORRECT FLAGPOLE" construction and type is "CRITICAL" when using this type of motorcycle flag mount at higher speeds and performance.
Length + Drag + Speed = "Strength of Flag Pole"
Patriot Mounts LLC recommends that you use a one-piece flag pole instead of a two piece, telescoping or sectional type pole unless you're sure the escort's speeds will be no more than parade speeds.
GO To: Patriotmounts.com
Look under "Categories" on the left side of the home page, scroll down to "Making Proper Flagpoles for this mount" Here you will find "Very Detailed" instructions for building the correct performing flagpole for your new Patriot Mounts. Follow them carefully.
Call us if you have any questions at: 210-854-1430. Ask for Ted Williams
SAFETY FIRST: Warning
Make sure you have proper work space and the motorcycle is In Gear and securely stabilized on its kickstand with the handlebars turned far to the left or with a proper motorcycle jack if one is available. The motorcycle should be on a level and hard surface.
We Advise: Reading the entire installation instructions and gathering the few tools you will need BEFORE you began installation so that no steps are missed and the mounting is performed properly.
SERVICE PARTS: Included in your Patriot Mount Kit
| Item | Qty. | Description |
| Patriot Mount | 1 | Mount - w/Rain cap |
| Parts packets | 2 | See Below |
| Bolts 3/8" x 1-1/4" x 16 | 2 | Socket head cap screw bolts |
| Spring lock washers 3/8" | 2 | Lock washers |
| Flat washers 10 mm | 2 | Flat washers |
| Bolt 5/16" x 1-1/2" x 8 | 1 | Socket head cap screw bolt |
| Spring lock washer 8 mm | 1 | Spring washer |
| Flat washer 8 mm | 1 | Flat washer |
| Flagpole sizing band | 1 - 30' roll | Applied during flagpole sizing - later |
TOOLS REQUIRED: for correct installation:
Tools To Assist with:
- 5/16” “L” shaped Allen wrench * Removal OE footpeg & Installing Patriot Mount
- ¼” “L” shaped Allen wrench * @ To assist with: Models w/footboards only.
- Small nylon or wire round bore tube brush Almost any small caliber tube brush will do to clean threads.
* 3/8” ratchet and 5/16” Allen socket may be needed to loosen OE part initially.
@ 3/8” ratchet and ¼” Allen socket may be needed to loosen OE part initially.
4 Easy Step - Installation: (With Footboards)
(With or w/out footboards or footpads) use the 1st, 3rd, & 4th holes down.
1. Remove socket head cap bolts from original equipment footpeg or footboard.
2. Clean frame 1st, 3rd & 4th threaded holes (from the top hole down) with nylon or wire bore brush to remove any rust, old thread lock residue, metal burring or rust so that new bolts can be easily and correctly installed. (Do not oil threads)
3. (If installing mounts w/o footboards) install a new spring-lock washer provided on the new bolt (first) & then a flat washer (second). Hold your Patriot Mount up to mounting surface of the frame, aligning the mounting holes of your Patriot Mount with the 1st & 3rd & 4th threaded mounting holes (top down) on the frame. Make sure they align and the new mount does not interfere or forcefully touch any other critical components or accessories on your scooter. Install the first new bolt w/washers in the 1st hole down, (If installing with footboard brackets) only tighten down the 1st hole bolt, but "only hand tight" apply a bit of "Medium Thread Locker" so that you can still slide the bracket up & down. Then the 3rd & 4th hole bolts without thread locker. Repeat this order for both left and right-side footboard mounts. (Hand tighten only). Once in place, tighten with Allen wrench. When installing footboard brackets, you may NOT need certain washers!
4. (The bolts should start and screw in without forceful resistance) The 5/16” “L” shaped Allen wrench should be used to secure firmly*. This operation is to ensure there is no cross-threading which could cause damage to the frame bolt holes.
* Using the “L” shaped 5/16” Allen wrench takes a little longer but is easier to access cap screw properly without scratching any paint or chrome surfaces.
- SPECIAL NOTE: You should apply Blue medium thread locker to the TOP first bolt.. But because you are using a spring lock washer to the 1st bolt, you can skip the thread locker on the 3rd & 4th bolts. Just make sure you always use your spring lock washer on the 1st bolt when installing footboards. We have driven these mounts without thread locker for thousands of miles and have had no issues. Just make sure you always use your spring lock washer on the 1st bolt when installing footboards. If you leave your mount on your bike most of the time, it’s advisable to make sure its tight and secure at regular intervals and return mount rubber rain cover provided with mount.
- SPECIAL MOUNTING NOTE: Models 93-2008 - When attaching the mount w/o footboard brackets to your bike or trike, you should hold the mount up to the frame, aligning the mounting holes of the mount to the 1st & 3rd & 4th frame holes and hand tightening the bolts at the same time. This will draw the mount up to the frame evenly. This is important because models 93-2008 have a "Swing Arm" bolt head that is present on these models that is not present on models 2009-2021. Then tighten in alternating fashion as if you would the lug nuts on a car wheel until fully tightened evenly to the frame. With footboard brackets, repeat steps above for application.
Installation of your Patriot Mount is now complete!
Warning: Your Patriot Mount is an added accessory and is "NOT INTENDED" to be a replacement for any Original Equipment Manufactured part. If installed alone, our mount is "NOT" a passenger footrest, footpeg or footboard. If you ever engage or plan the transportation of a passenger w/o the footboards or footpads, the OE parts should be reinstalled before riding or serious injury or death could occur. The Patriot Mount will allow you to install most OE passenger footboards or footpegs on top of the mount so a passanger can ride safely.
Flag Pole Sizing & Installation: 2 Easy Steps!
| Tools required for Installation: | To assist with: |
| Sharp Scissors | Cut sizing band |
| Black Sharpie | Mark flagpole |
| 30' roll sizing band | Create sizing ring on pole to fit mount |
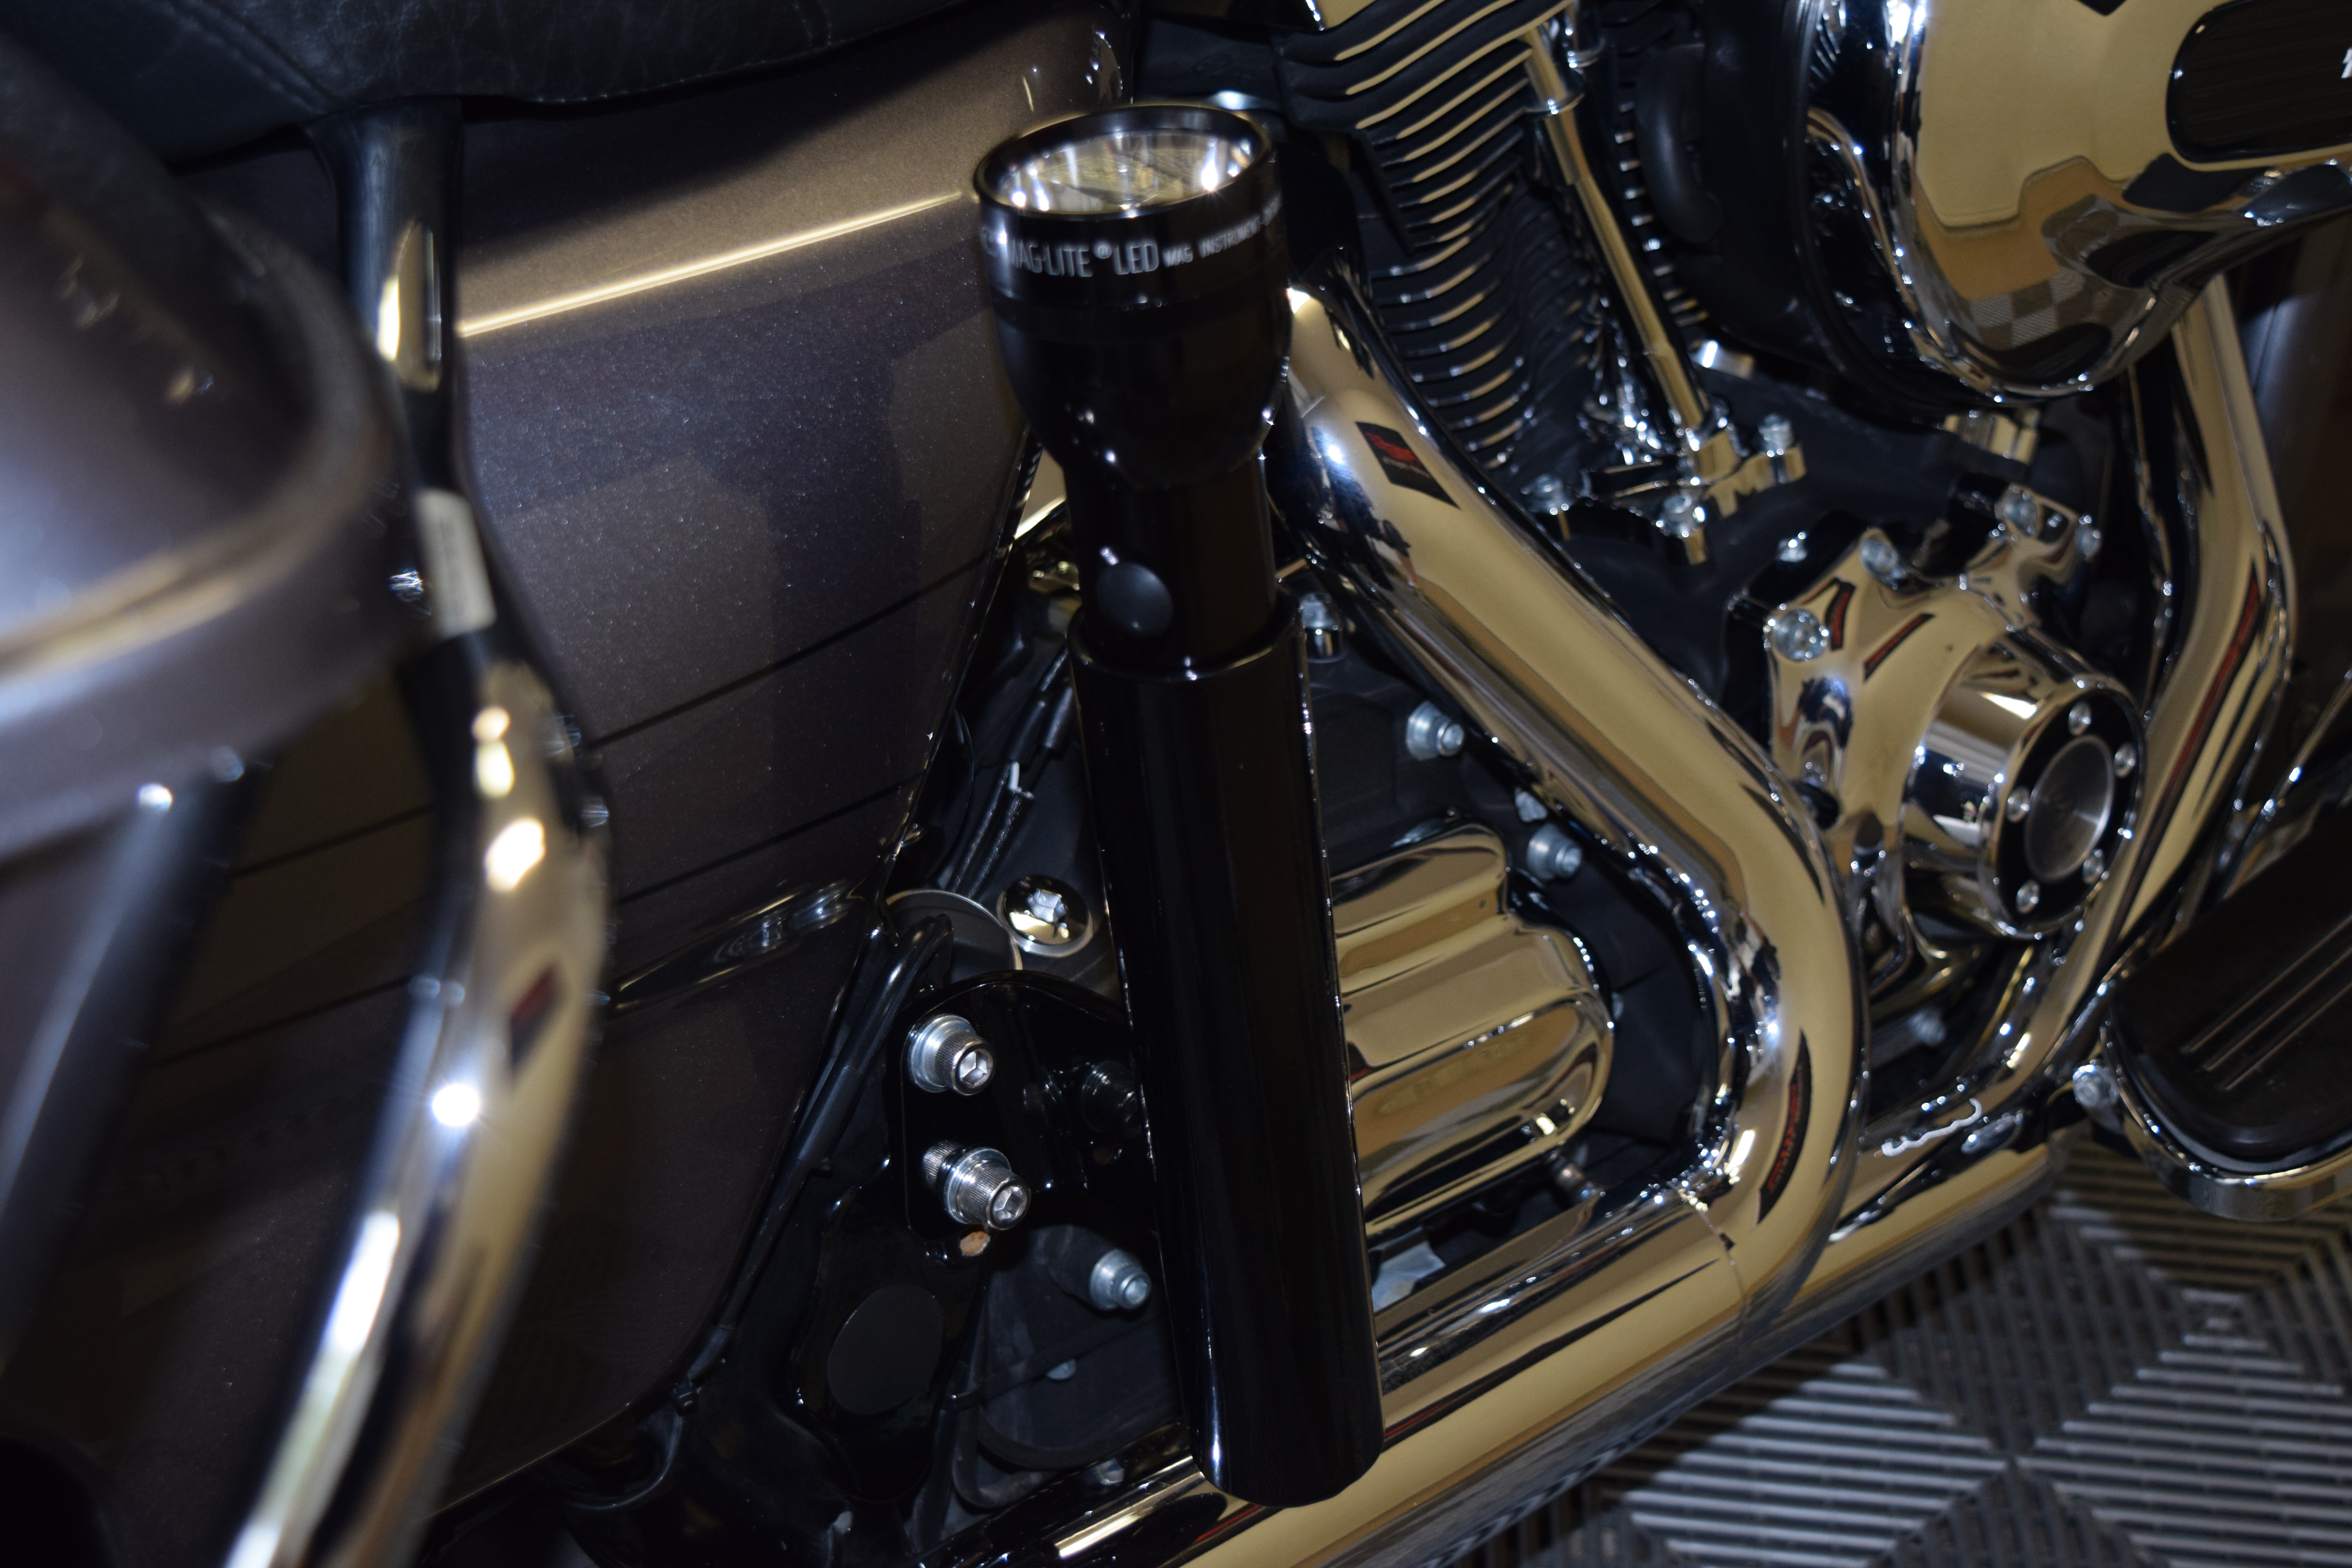
Your “Patriot Mount” is uniquely designed to accommodate various size diameter poles up to 1-5/16". You do this simply by sizing the pole base to the mount. It’s important to note that the standard size of most flagpoles is a 1” OD. When using a wooden flagpole, its best to maintain this 1” diameter OD. Larger wooden poles can add a lot of weight and could possibly damage the mount. See our section of the site for details of "Making Proper Flagpoles For This Mount". Build specs include specific types of wood or metal best suited for this activity at increased speeds and other sites to help you find the materials you choose. There is an alternative steel pole listed in our build specs, that is suitable.Your Patriot Mount is also supplied with a heavy rubber bumper attached inside the bottom of the mount to reduce vibration. Plus a 3-D battery Maglite can be carried at night perfectly if desired!.
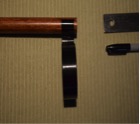
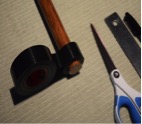
1. Make sure your flagpole is clean and dry regardless of material…..(figure #1) Starting about ¼” inch from the bottom of your flagpole, wrap the sizing band provided around the pole (Neatly on top of itself) to increase the poles diameter (figure #2) until it fits securely in the base of your Patriot Mount. If you need to add or remove band to adjust the size as you go, you can easily do so by simply cutting small pieces of the band with a pair of scissors and remove excess or add a piece of band until the pole fits without slack. Make sure the pole moves in and out of the mount without any excess slack. Important: You want achieve that perfect fit! It’s recommended that you actually over-wrap the sizing band on the pole and remove and cut small pieces from the band until the pole fits perfectly.
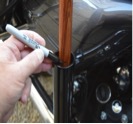
2. With the flagpole fully inserted, touching the bottom of the Patriot Mount. (figure #3) mark the outside of your pole with a sharpie approx. ¼” inch below the top edge of the mount as a reference point. Remove the pole from the Patriot Mount and start the 2nd sizing band (figure #4) a little below your reference mark. Make sure that the sizing band is fully inside the mount when put in place. Use the same technique (figure #5) you used in Step #1 to add or remove band until your flagpole is secure but can be installed or removed without being too tight a fit but snug! (figure #6) Again, that perfect fit is important! It’s recommended that you actually over-wrap the sizing band on the pole and remove and cut small pieces from the band until the pole fits perfectly but snug.
#1 #2 #3
#4 #5 #6
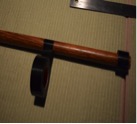
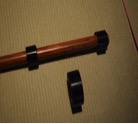
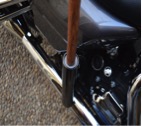
You will have additional banding to add a center support ring if you like!
To copy detailed instructions: Print in "Landscape" layout.
Sizing of your flagpole is now complete!
Important Safety Warnings
A (black & white) copy of the following will also be packed with each mount.
Warning: On days that the wind is consistently high, gusting or unpredictable, Patriot Mounts LLC unequivocally advises NOT to fly our or any other large flag system from your bike or trike. These conditions would be dangerous to the rider. Patriot Mounts LLC cannot and will not assume any responsibility for damages of any kind, injury or death. The rider understands that they assume all responsibility when operating a motorized vehicle when Patriot Mount LLC products are in use.
Warning: Your Patriot Mount is an added accessory and is “NOT INTENDED” to be a replacement for any Original Equipment Manufactured part. Your mount is “NOT” a passenger footrest, footpeg or footboard. If you ever engage or plan the transportation of a passenger and the footpads or footboards are not installed, the OE footpegs should be reinstalled before riding or serious injury or death could occur. The Patriot Mount will allow you to install most OE passenger footboards or footpegs on top of the mount so a passenger can be safely transported.
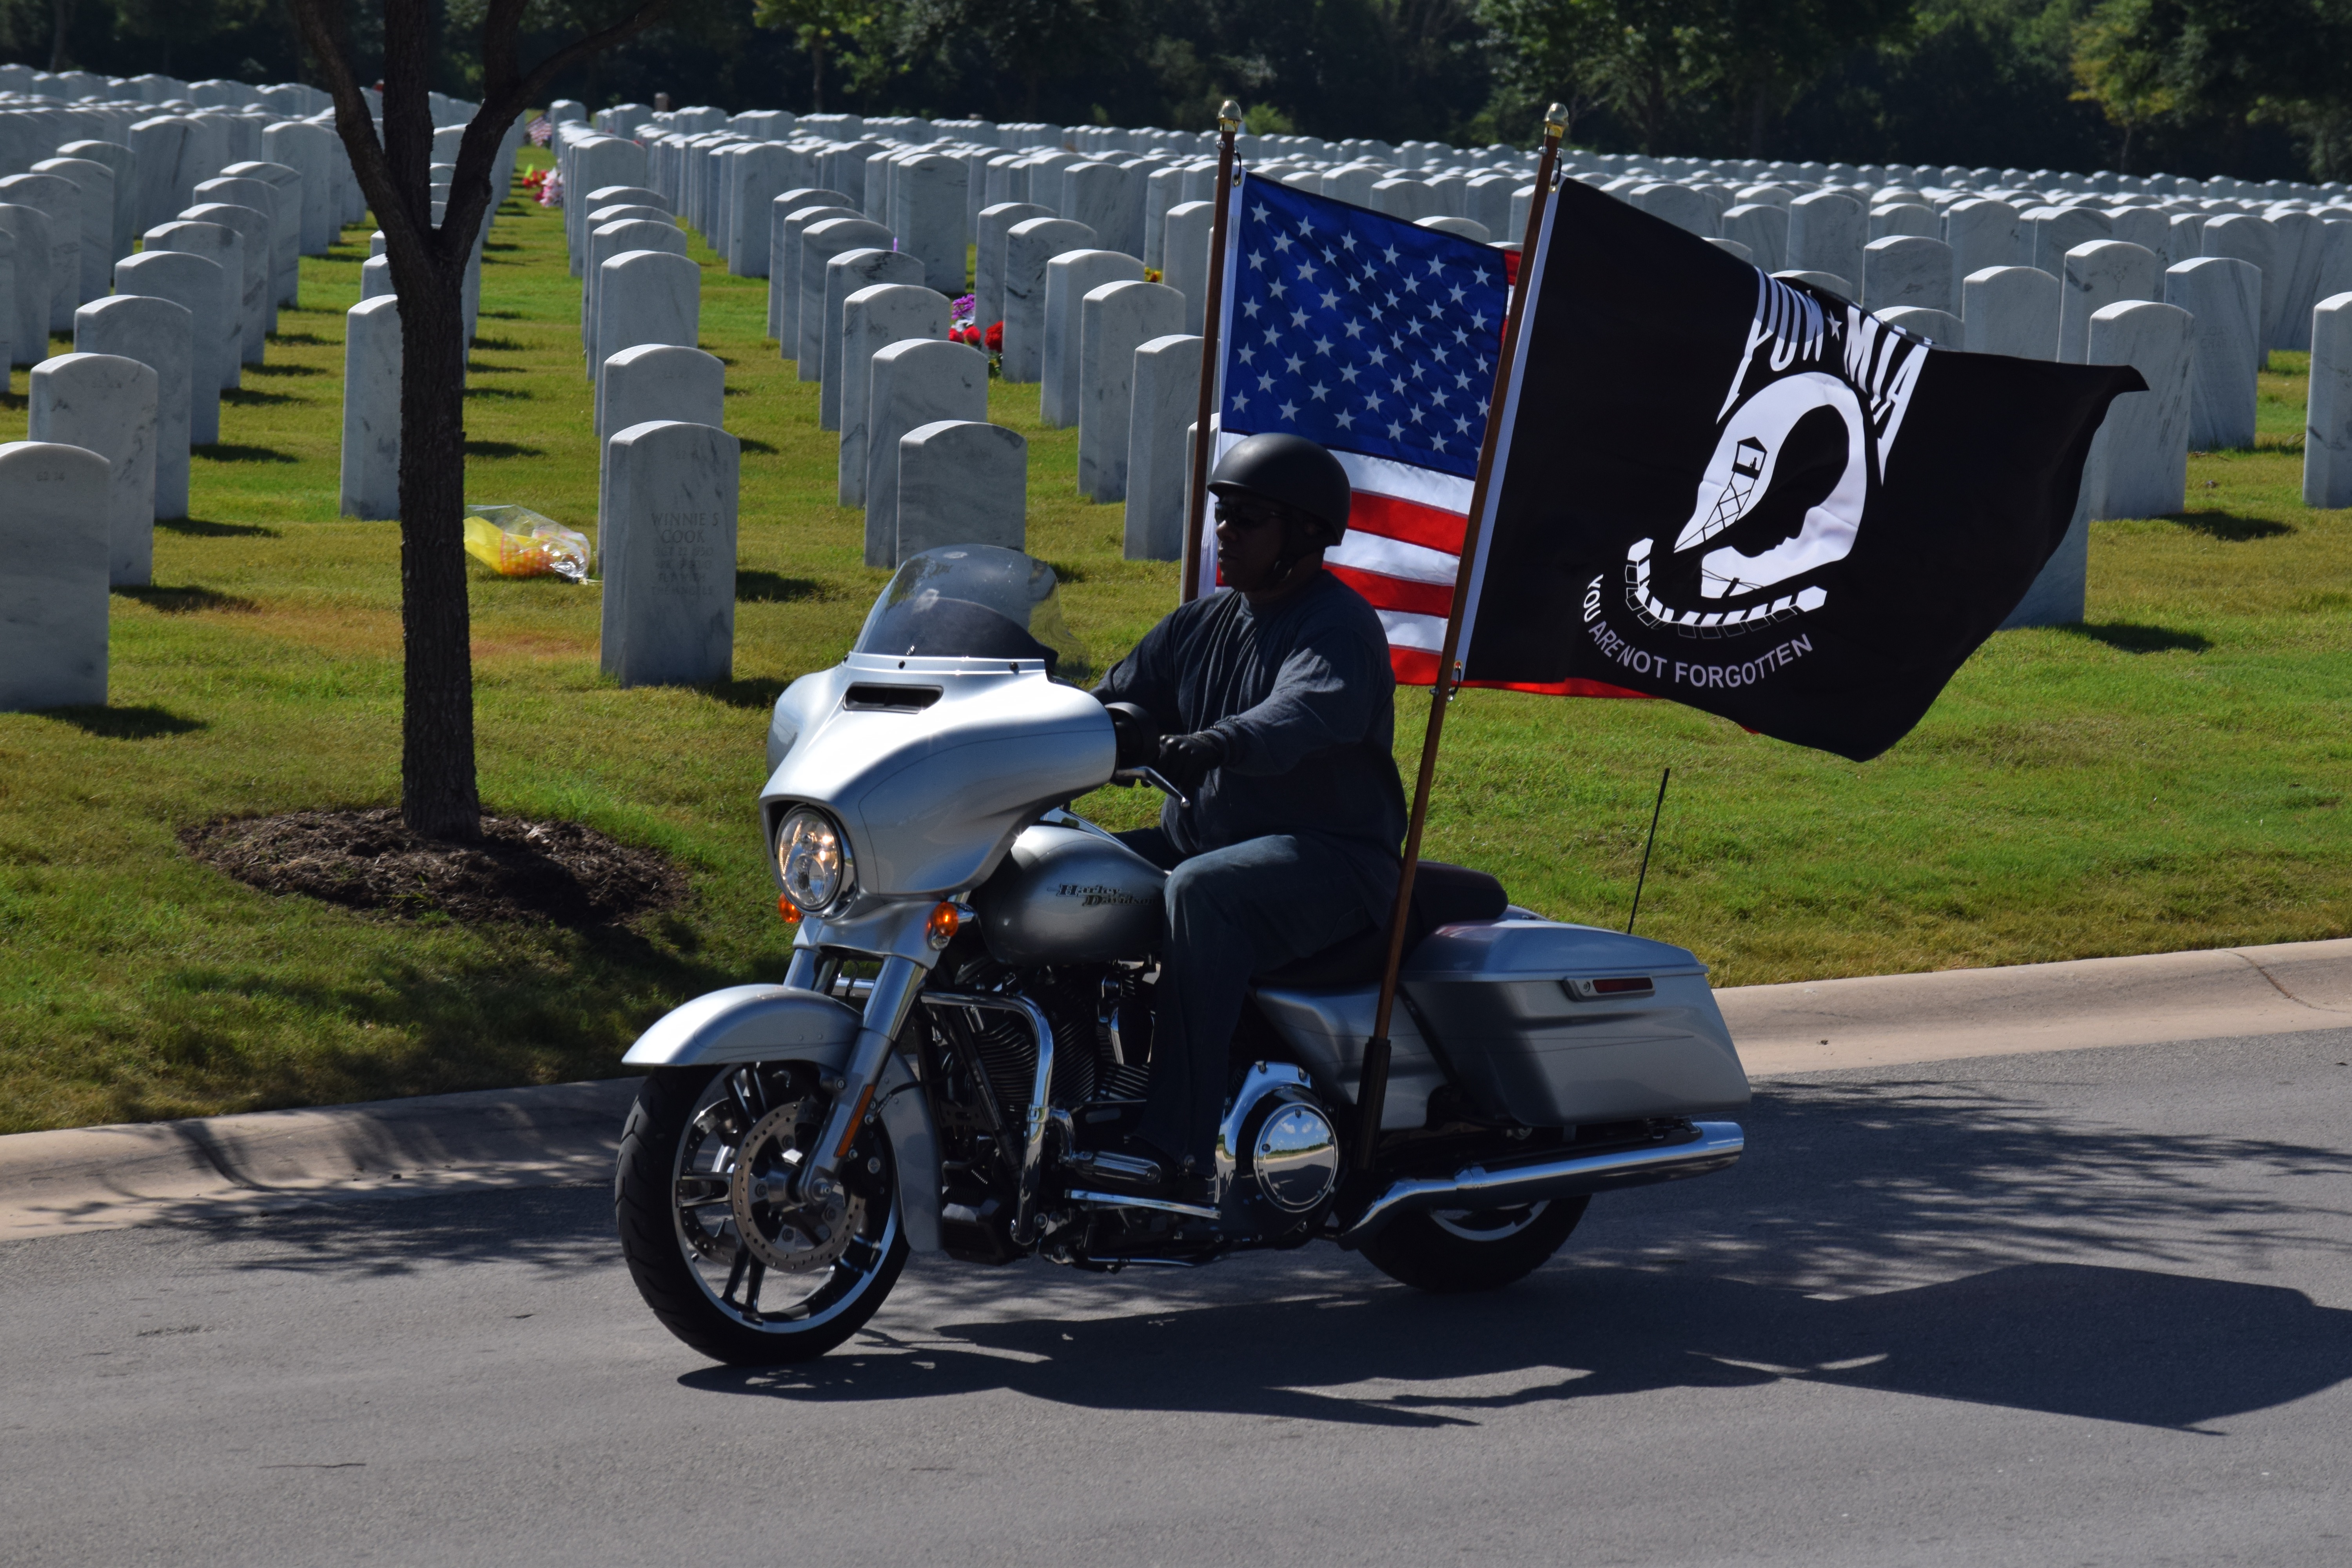
Warning: The maximum speed rating of your Patriot Mount is 55 mph/89 km/h. Depending on the flagpole, flag material and their construction your speed may be less *. Section 101-03 of the NFDA (National Funeral Directors Association) limits the speed of a procession to 55 mph when marked 55 mph or higher, and 5 mph below posted speeds of other streets and roads.
Warning: Because your Patriot Mount is rated at a higher maximum speed of 55 mpg/89 km/h.
Patriot Mounts LLC recommends that you use a one-piece flag pole instead of a two piece, telescoping or sectional type pole unless you’re sure the escort's speeds will be no more than parade speeds 10-15 mph. See the section of our site that details how to “Making Proper Flagpoles for This Mount” which meet the higher speeds allowed by your Patriot Mount. You have to figure headwinds into the equation. In other word’s, if your speed is 55 mph and you are riding into a 10 mph headwind, it equates to 65 mph. Rider assumes all responsibility in making this judgment call. Patriot Mounts LLC cannot and will not assume any responsibility for damages of any kind, injury or death. The rider understands that they assume all responsibility when operating a motorized vehicle when Patriot Mount LLC products are in use.
Warning: Because the flag materials are in fairly close proximity to the operator it is critical that the operator, ALWAYS makes sure that they have a clear view at all times before moving the vehicle in any direction. Winds change direction at times for many reasons depending on weather conditions, direction traveled or location of vehicle. Rider assumes all responsibility in making this judgment call. Patriot Mounts LLC cannot and will not assume any responsibility for damages of any kind, injury or death. The rider understands that they assume all responsibility when operating a motorized vehicle when Patriot Mount LLC products are in use.
* Warning: Inexpensive, Swivel (two-piece), Telescoping or Sectional poles are “NOT” recommended unless you will be using the Patriot Mount at parade speeds ONLY. When flying a larger flag 2 ½’ X 4’ or 3’ X 5’ flag, the forces on the flags and poles you chose are much greater and could damage your equipment, bike or create a dangerous situation for you or other riders, vehicles, or pedestrians. See the section of our site on “Making Proper Flagpoles for This Mount”. Builder assumes all responsibility in making this important piece of equipment. Patriot Mounts LLC cannot, and will not, assume any responsibility for damages of any kind, injury or death. The builder understands that they assume all responsibility when operating a motorized vehicle when Patriot Mount LLC products are in use.
 Loading... Please wait...